Skip the CMS: Publishing Directly from Obsidian
Every year or two, I go through the process of attempting to resurrect my blog. I fiddle with Astro and Tailwind and host it on Vercel/Netlify/Cloudflare, and then, inevitably, I hit the same wall: figuring out how to manage the content. I end up getting lost exploring headless, git-based and API-driven CMS systems and trying to put everything together in a nice cohesive way.
I have to do a fair amount of writing at work and I’ve realised that I am most productive when I write in a clean, minimalistic editor that has few (visible) bells and whistles and UI elements that call for my attention. The closer I can get to a blank white page, the better quality my writing and the longer I can focus on it.
The tool that has best served me in this regard is Obsidian. Simply put, Obsidian is a markdown-based note taking app. It runs locally on your device and stores the content directly in your filesystem. It is hugely customisable - there are a wide variety of community plugins available and if you are comfortable with JavaScript, you can write your own plugins to do pretty much anything!
As I was busy with this blog resurrection attempt, I had an idea: what if I could use Obsidian directly as the CMS for my blog? The web framework I am using, Astro, already has excellent support for markdown files. I could simply open the /content/blog directory on my website in Obsidian and write my content directly from there, no fancy Git-backed CMS needed.
What’s more, with the wide variety of plugins available, I could probably handle every aspect of publishing and deploying changes directly from Obsidian, without ever needing to open up a terminal or my IDE.
This post is my first attempt at using this workflow, and thus far I am pretty satisfied with the results.
Managing source control
I need to be able to commit the changes to my blog post markdown files and push them up to GitHub in order to trigger a new website build. I don’t want to handle this manually in a terminal or open up my IDE to do it - I want to be able to do this from commands in Obsidian directly.
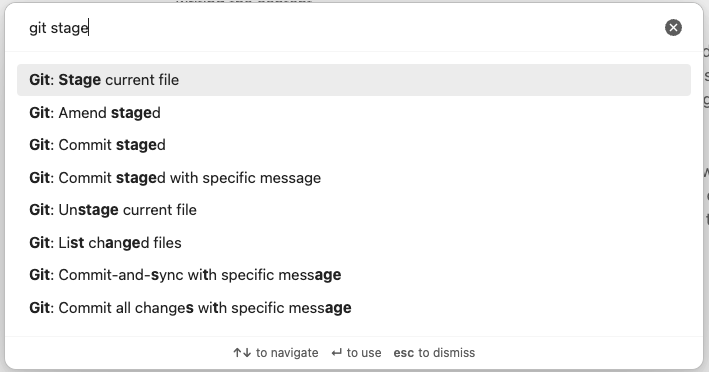
I’ve installed the Git community plugin, which allows me to run git commands directly from Obsidian. I simply ‘stage’ my new post with the Git: Stage current file command
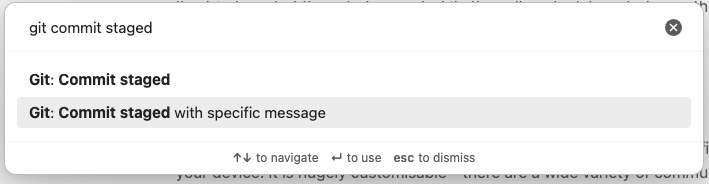
And then commit my changes, using either the Git: Commit staged option (which will add a generic commit message) or the Git: Commit staged with specific message option if I want to be a bit more specific.
Finally, I can run Git: Push to sync my changes to my main branch on Github, which will trigger a new deployment on Cloudflare.
And that’s it - post published! 🚀
Managing images
One potential hurdle with git-based content workflows is handling images. You’ll need to make them available somewhere so they can be referenced in your blog. The general approach is to use a service like https://imgur.com/ or https://cloudinary.com/ for this. Just like every other aspect of this new writing workflow, I wanted something that required minimal effort and would be managed directly within Obsidian.
Firstly, I set up a Cloudflare R2 bucket for storing my images. I could have gone with Amazon S3 or ImageKit or any number of other providers, but my website is hosted on Cloudflare already, so I wanted to keep everything within that ecosystem. Once the R2 bucket was created and set up for public access, I installed the Image Upload Toolkit community plugin and added my bucket’s API credentials.
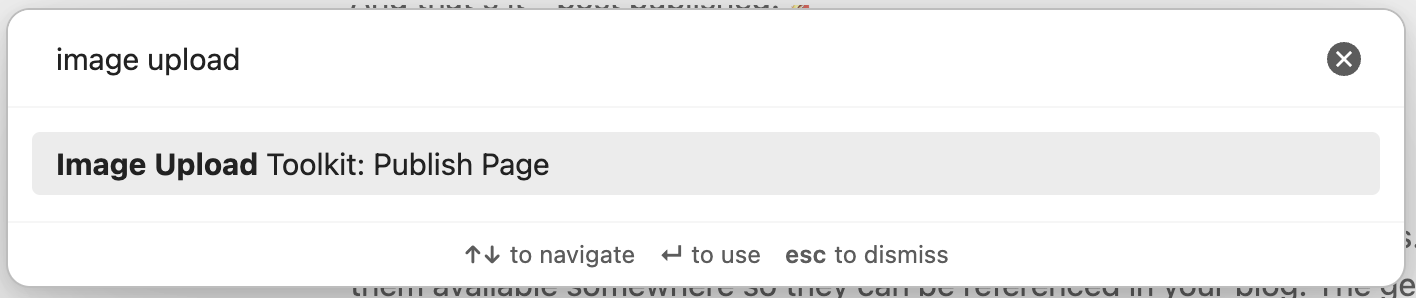
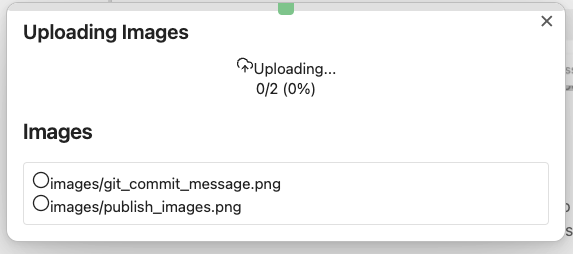
Now all I need to do is run the Image Upload Toolkit: Publish Page command, which will take all the images it finds in my post, store them in my R2 bucket, and update the URLs of the images so everything works as expected 🧙♂️
The local images stored in my vault are no longer referenced, so I can use the Clear Unused Images plugin to delete them once I’ve finished writing my post.

Summary
I’m sure there are a lot of niceties you get from a “proper” CMS that I am missing out on by relying entirely on Obsidian, but for now I am enjoying the simplicity and ease of this workflow. It’s also nice to know that (aside from the images), I have full control and ownership of my content and I can change either the editing experience or the rendering experience whenever and however I like.