Getting Started with PestPHP
Intro
Just over a year ago, my company decided we had reached the point where we needed to rewrite our web app from scratch. It had become bogged down in technical debt, an aging tech stack and poor infrastructure.
We decided that one foundational practice we would put in place right from the start with the new app was testing. We had some tests previously, but more as an afterthought rather than a critical step in the build and release process.
For the first 6 months or so we built out our tests using PHPUnit with no issues. It’s a solid testing framework! However, I was playing around with new technology one weekend I came across PestPHP and decided to start a new branch and give it a try. I loved it so much that the following week I rewrote all of our tests with it and pushed up a PR, and we haven’t looked back since.
What is it?
Pest is a testing framework which sits on top on PHPUnit. According to the creator it was “carefully crafted to bring the joy oftesting to PHP”.
It cuts out a lot of boilerplate that you’d generally need to write when testing with PHPUnit and instead lets you focus on the tests themselves.
Benefits:
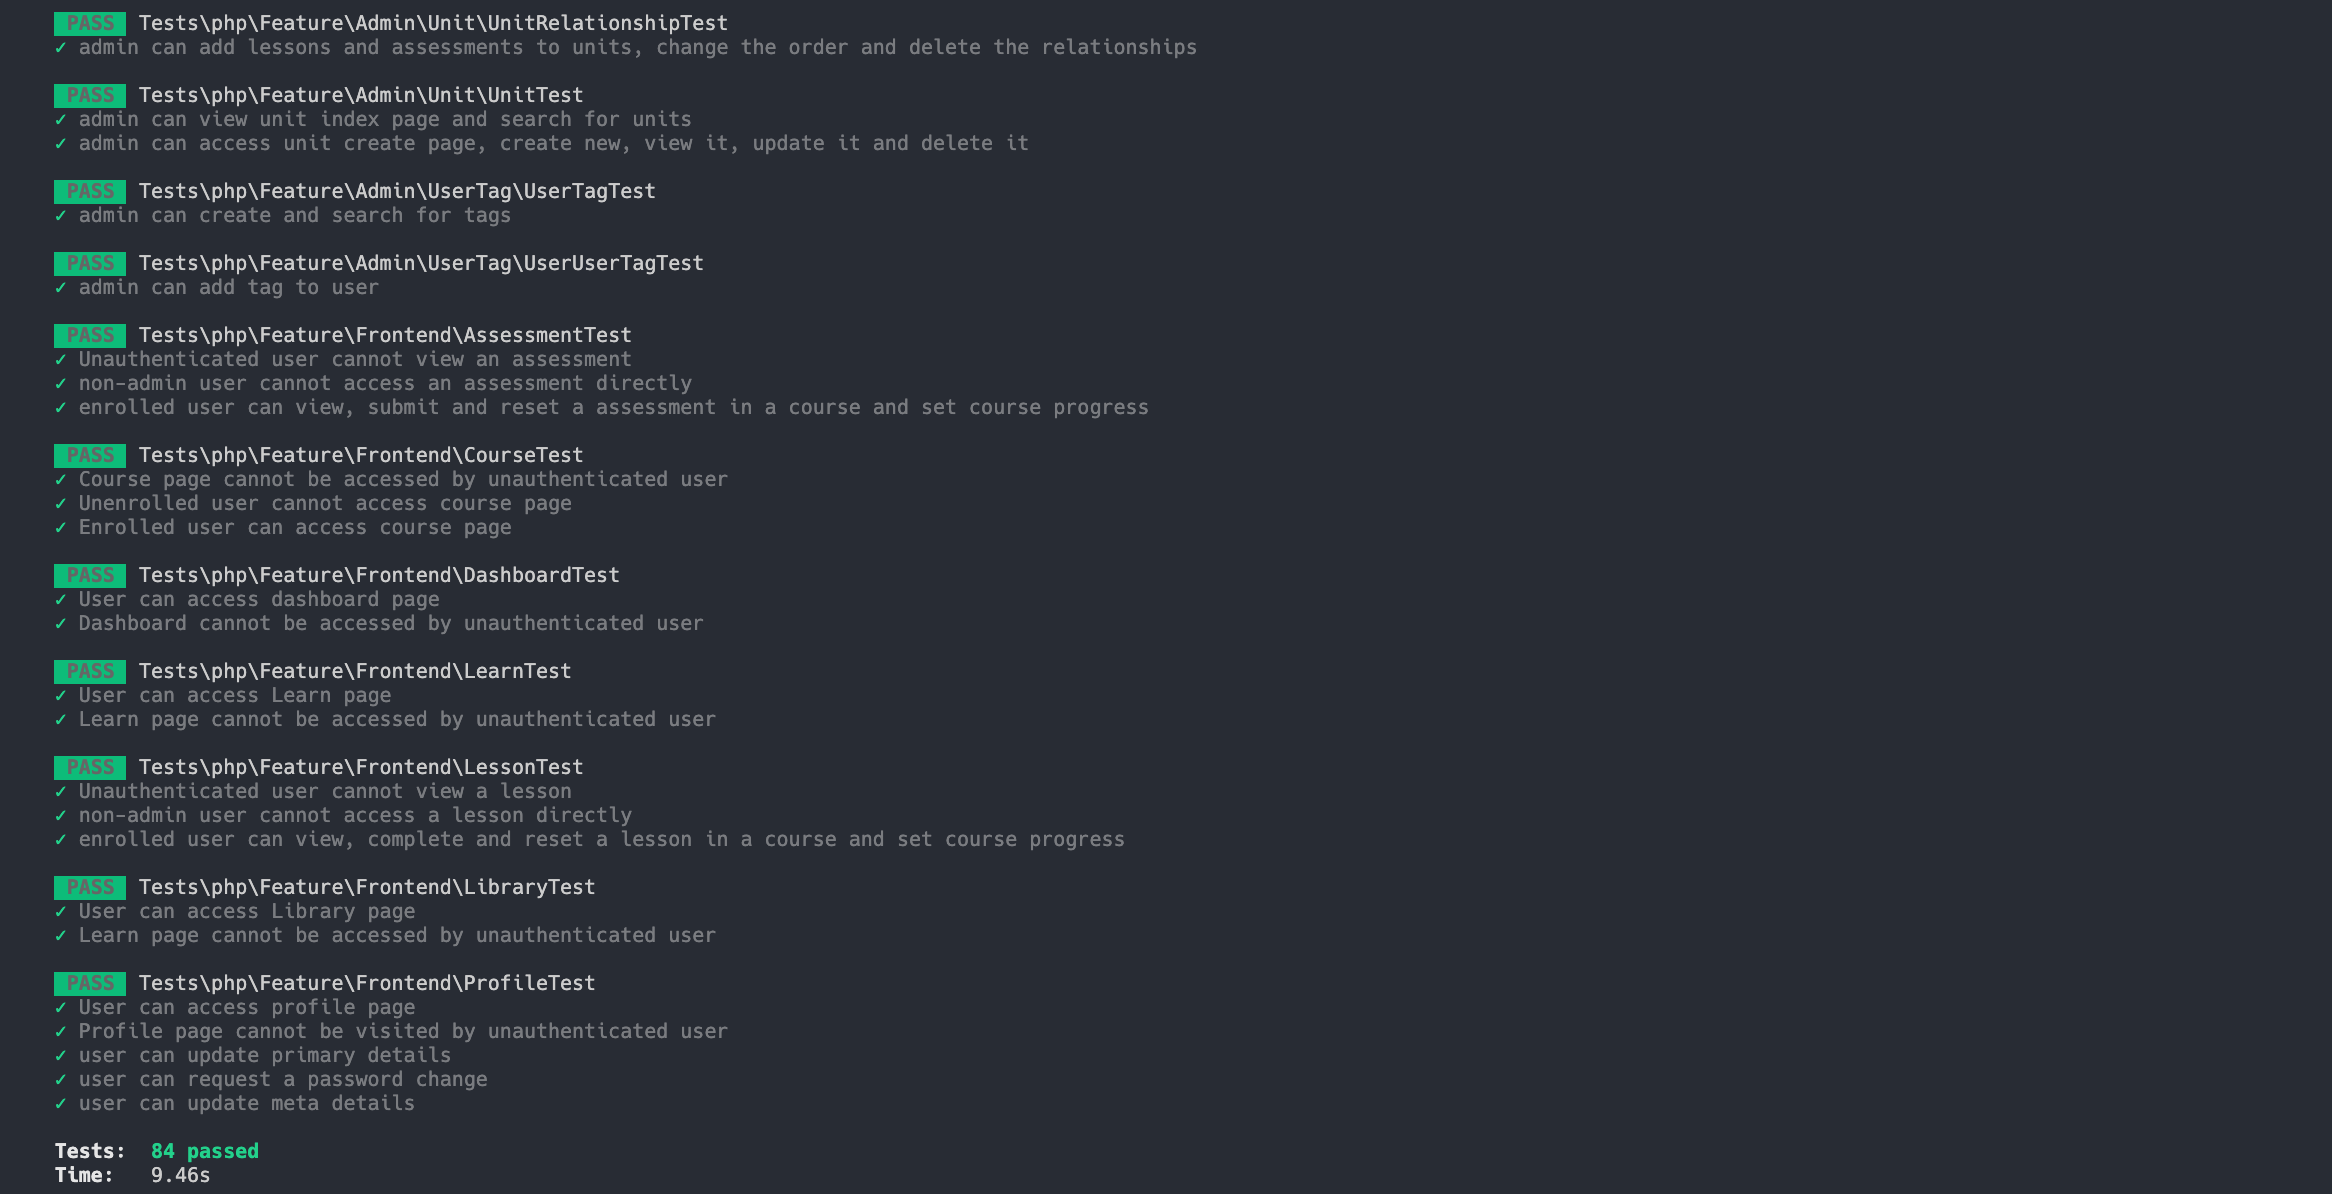
Beautiful and informative test reporting
I love watching the Pest test runner go through my tests, it feels great watching all those green ticks fly by!
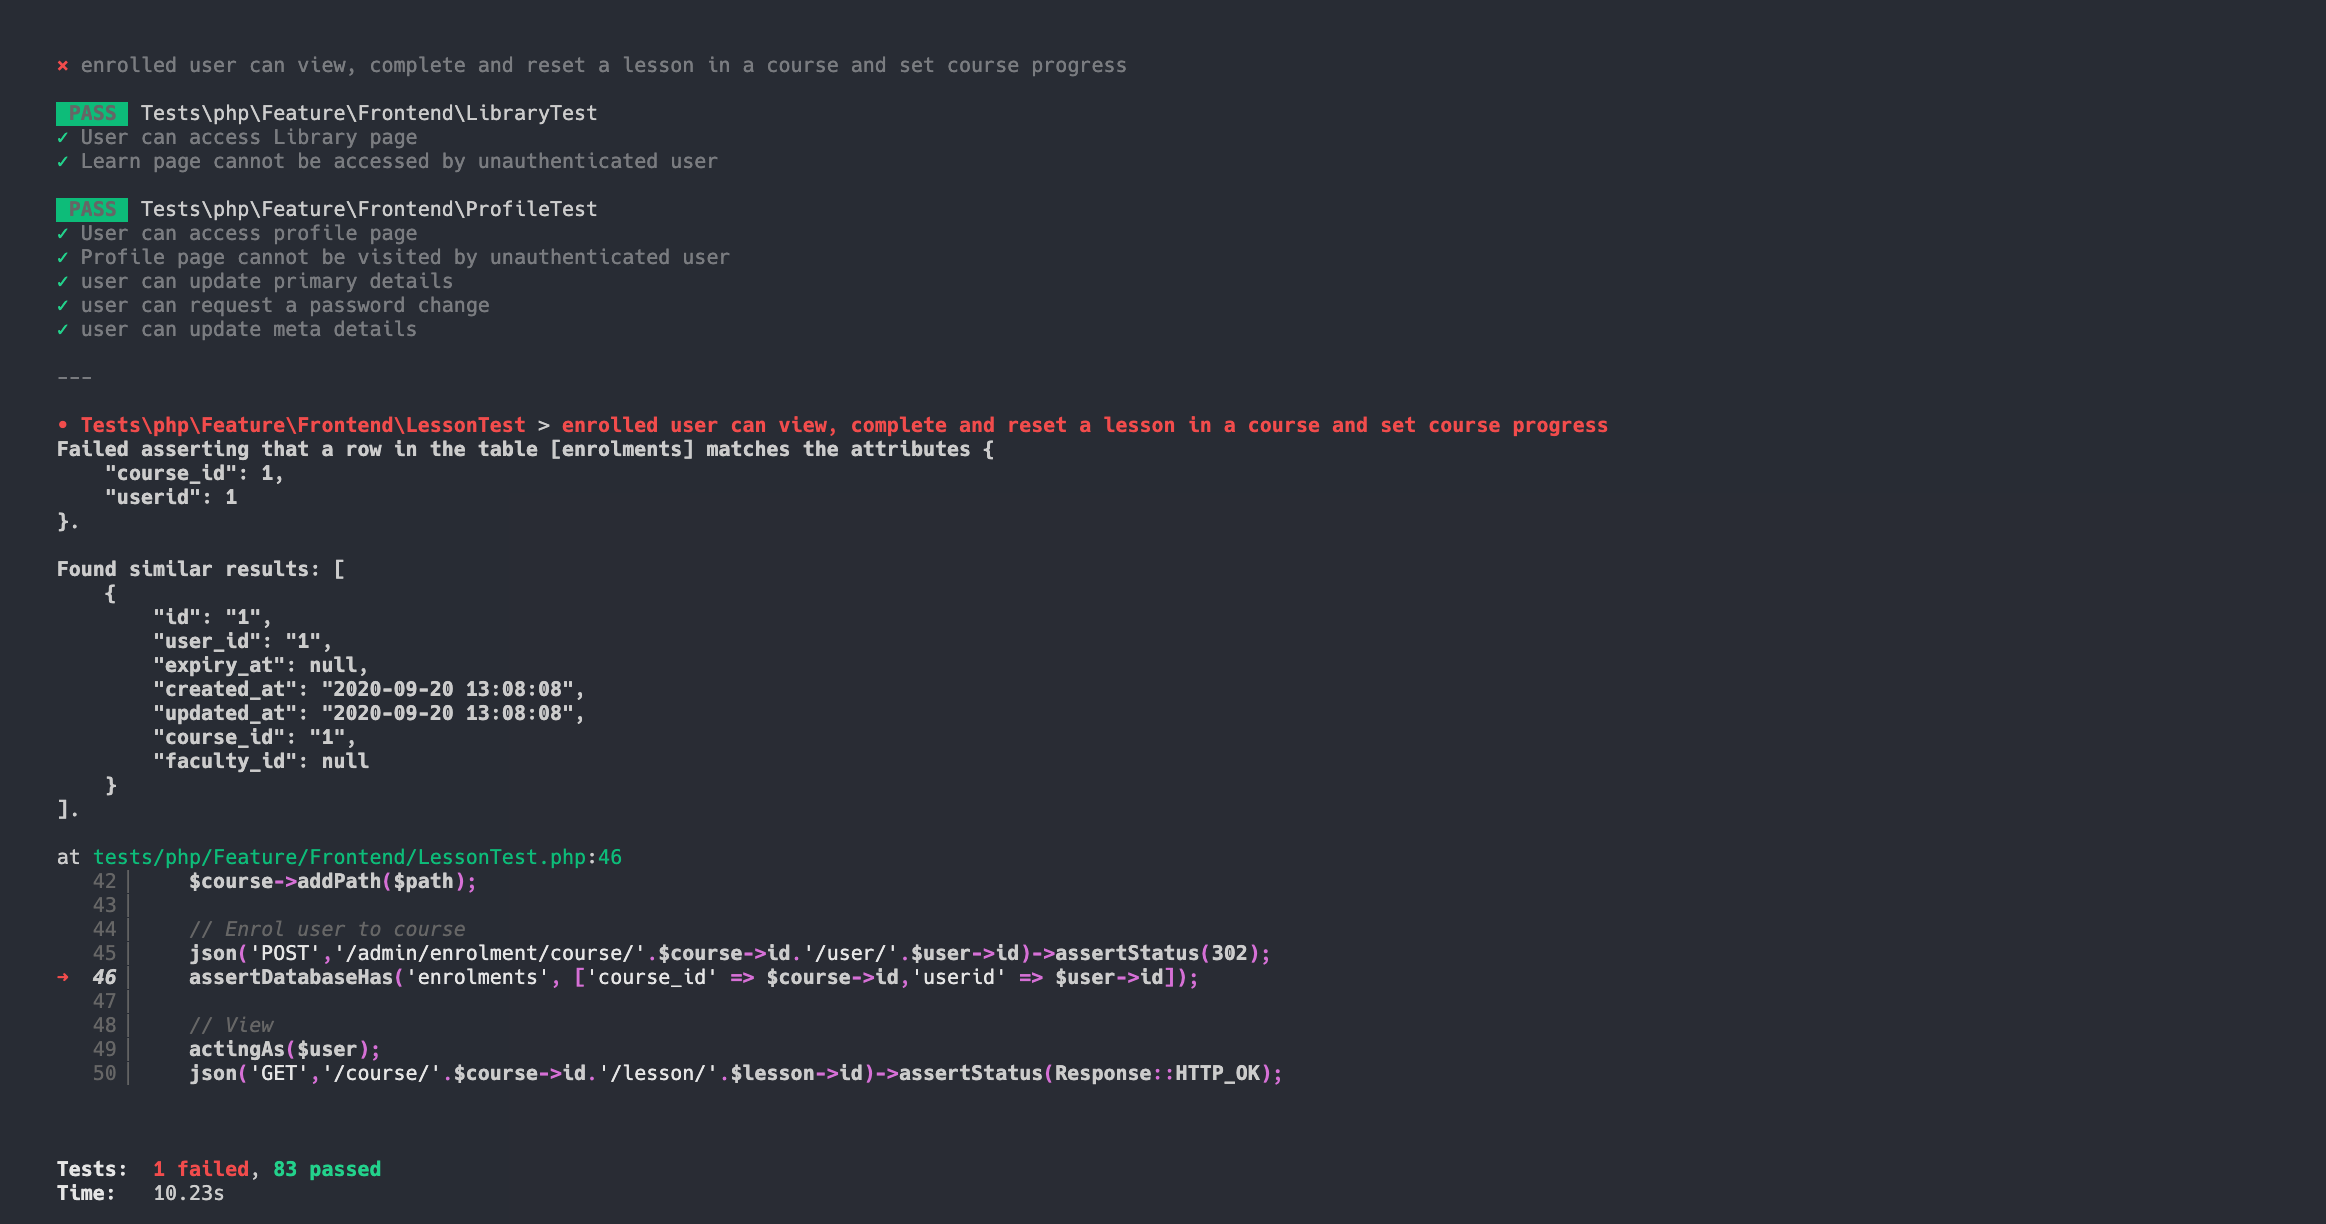
When there is an error, it tries to be as clear as possible about what went wrong so you can get it resolved quickly
Easy to read and write
The code below is all that’s required to run a pest test which makes a JSON request to particular path and checks that a particular status code is returned.
<?php

test('admin can view insights index page')
    ->json('GET','/admin/insights')
    ->assertStatus(200);
The PHPUnit alternative would be something like:
<?php

namespace Tests\Unit;

use Tests\TestCase;
use Illuminate\Foundation\Testing\RefreshDatabase;

class InsightsTest extends TestCase
{
    use RefreshDatabase;

    /**
     * @test
     */
    public function adminCanViewInsightsPage()
    {
        $response = $this->getJson('/admin/insights');

        $response->assertStatus(200);
    }
}
It may seem like that’s not all that much more code, but there’s so much unnecessary boilerplate that needs to be written each time for PHPUnit to run your tests - adding namespaces and creating classes and setting up methods in a specific way. With Pest, you just write your tests. They have minimised the boilerplate and tried to make it as readable as possible.
Progressive adoption
All PHPUnit tests are valid Pest tests. This means that you can install Pest on an existing codebase and your tests will all still run fine. You’ll even get the pretty error reporting without having to do anything extra. This makes the transition pretty easy - you can refactor in your own time without worrying about breaking things. There’s even an automatic PHPUnit to Pest converter called Drift which is being developed to make this process even easier.
Installation
Let’s look at how to go about installing PestPHP.
As mentioned, Pest is built on top of PHPUnit, so the first step is to make sure you have a phpunit.xml file at the project root. If you are using Laravel, it usually comes with one in a standard installation. Otherwise, here’s a link to one on the pest repo
Next, make sure your PHPUnit dependency is ^9.0
composer require phpunit/phpunit:"^9.0" --dev --update-with-dependenciesIf you are using Laravel, require Collision ^5.0
composer require nunomaduro/collision:"^5.0" --dev --update-with-dependenciesNext, require Pest:
composer require pestphp/pest --devIt’s now time to set up the test suite.
If you are using Laravel, you can go ahead and install the pest plugin for laravel and run the installation:
composer require pestphp/pest-plugin-laravel --dev && php artisan pest:installIf you are using another PHP project, you can initialise Pest with the following command:
./vendor/bin/pest --initTo run Pest from the command line, use the following command:
./vendor/bin/pestAnd that’s it! Pest should run through your tests if you have any, and you are able to get started refactoring existing tests or creating some new ones.
Next steps
Pest is being actively developed and every new version adds exciting features which make testing simpler and more productive. I highly recommend reading through the docs to get the most out of it. If you are more of a visual learner, Michael Dyrynda has produced a free video series on YouTube which will help give you all the info you need to write excellent Pest tests.
Thanks for reading and happy testing!